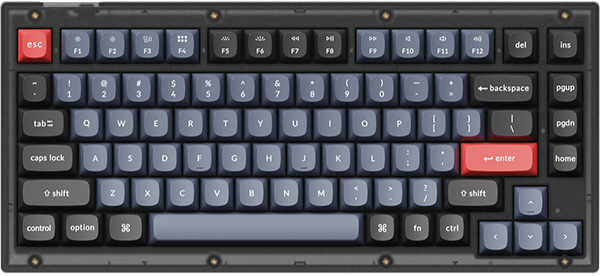
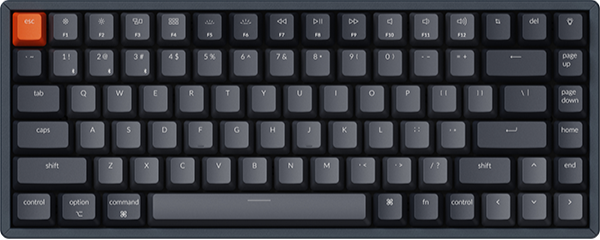
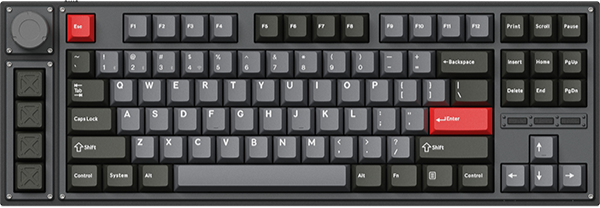
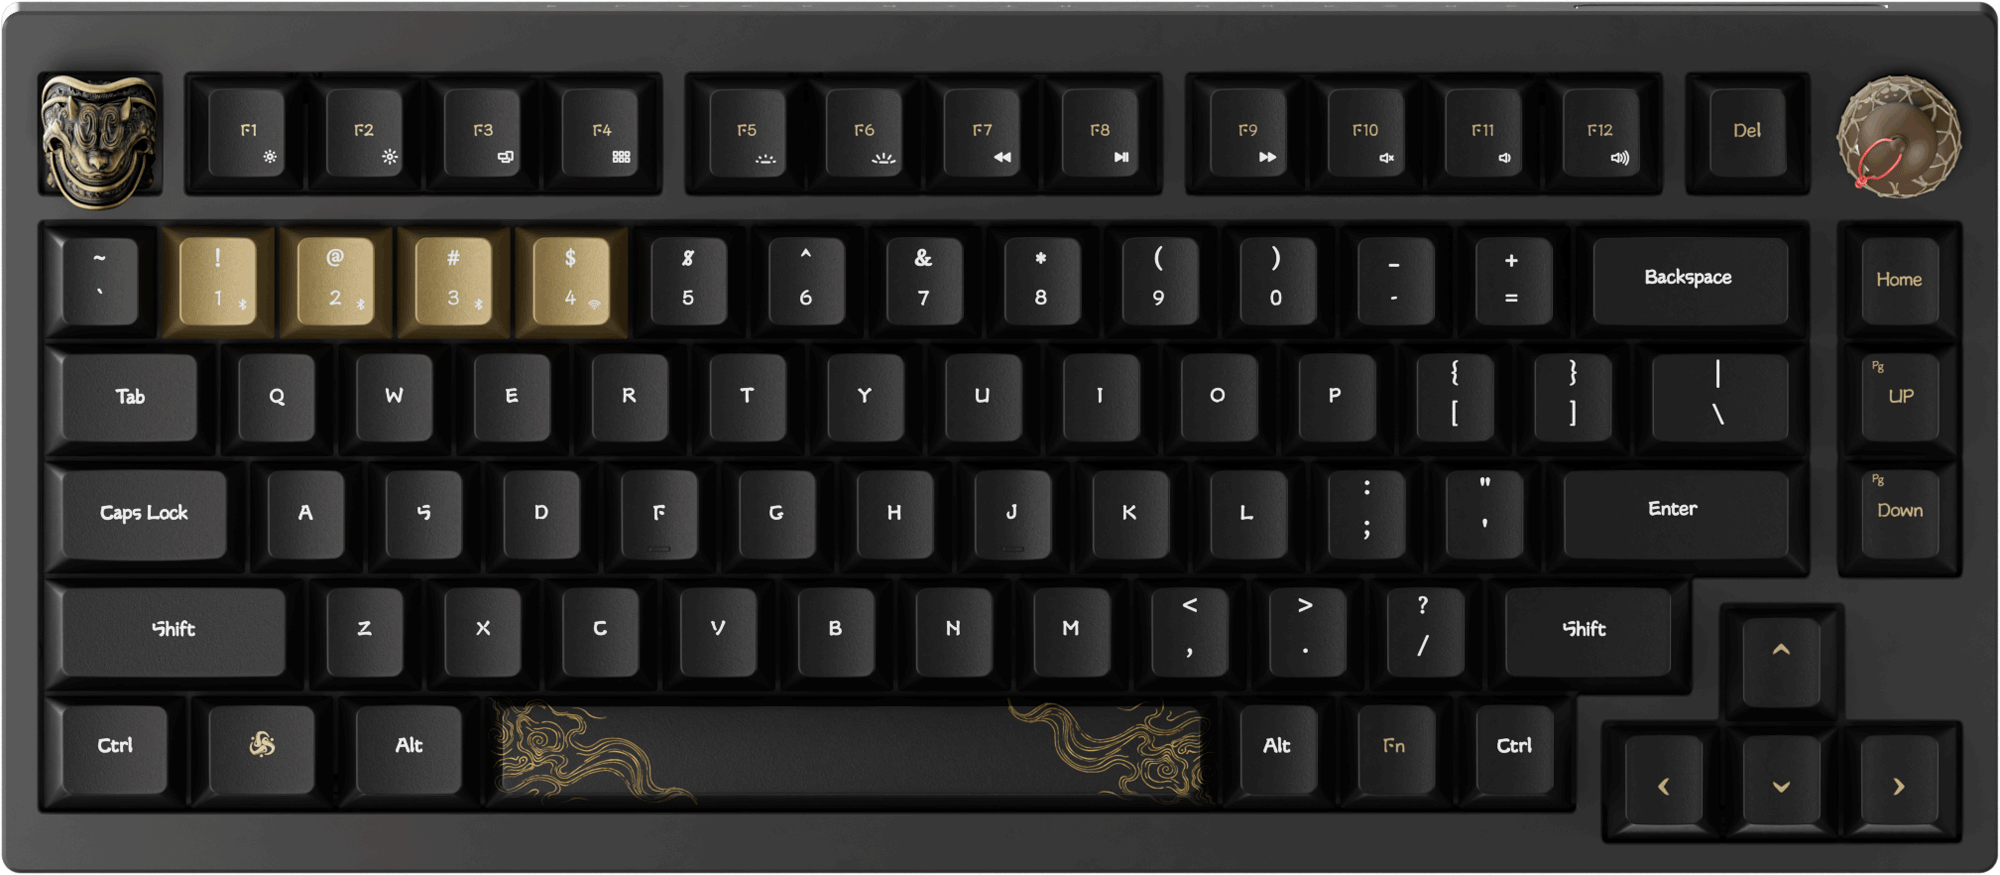
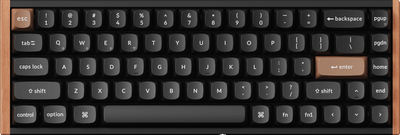
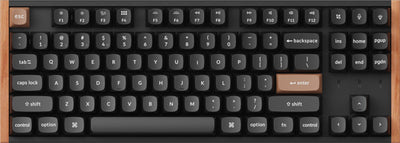
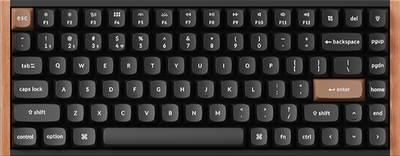
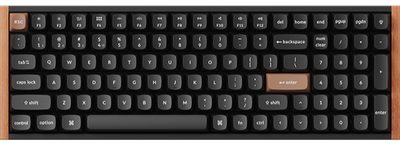
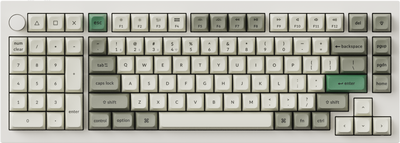
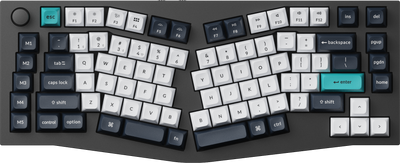
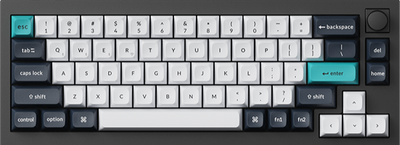
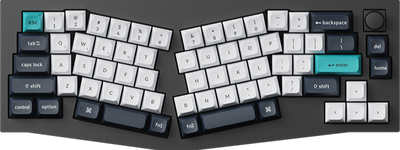
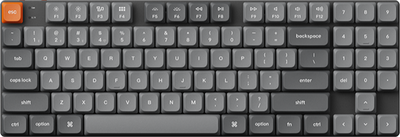
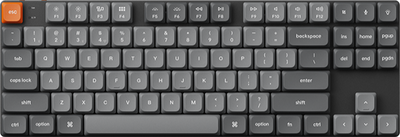
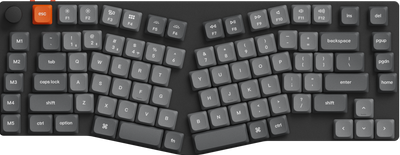
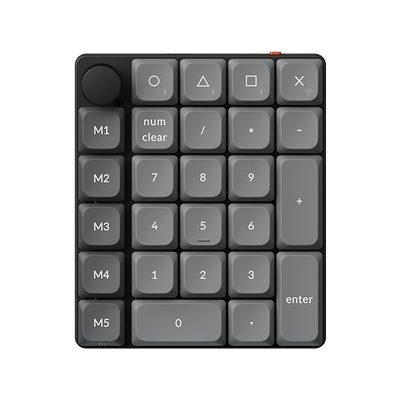
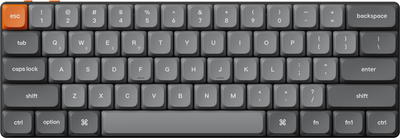
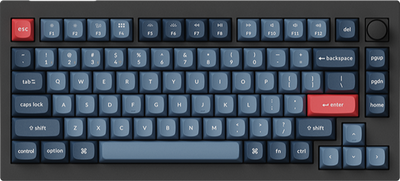
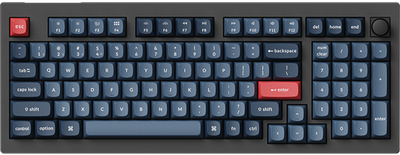
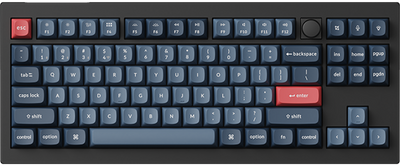
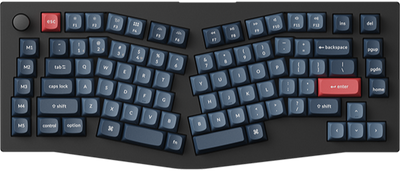
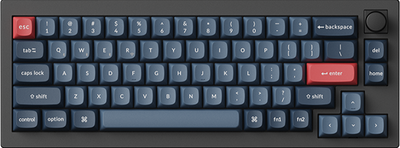
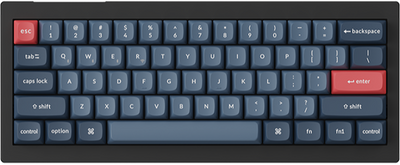
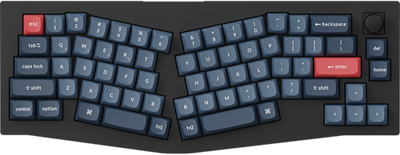
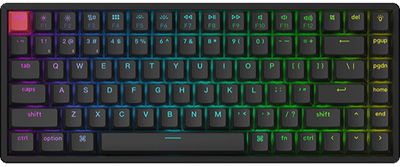
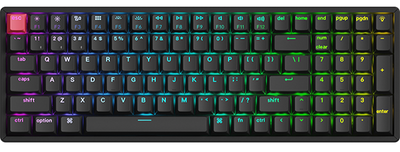
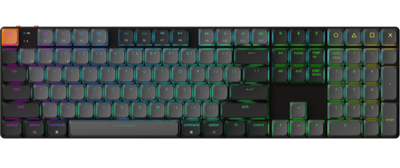
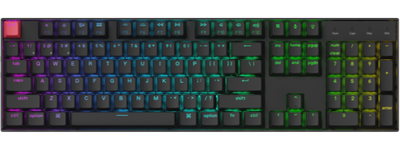
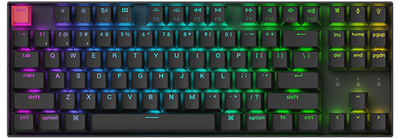
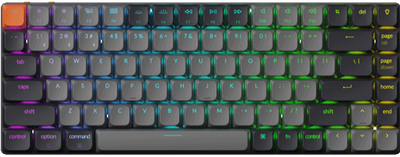
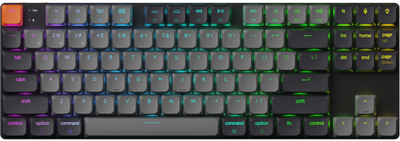
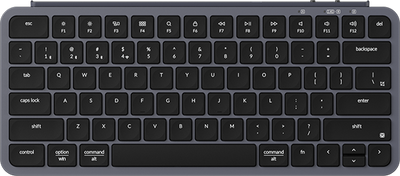
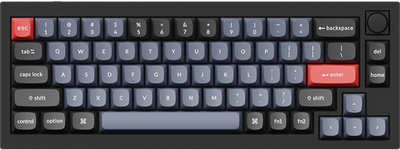
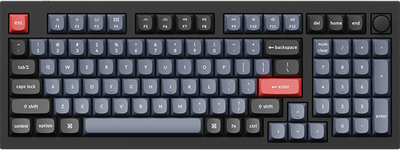
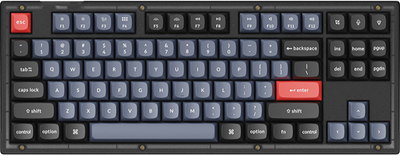
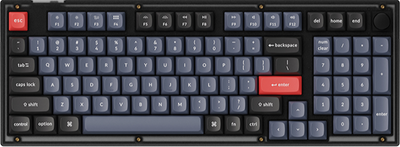
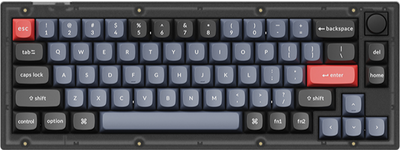
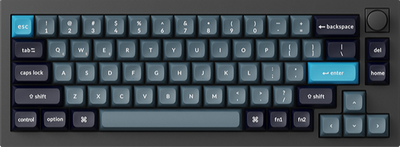
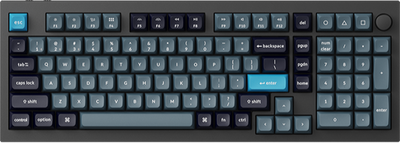
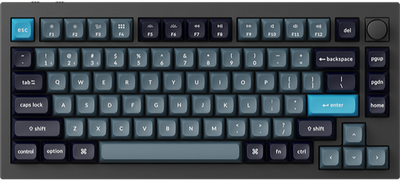
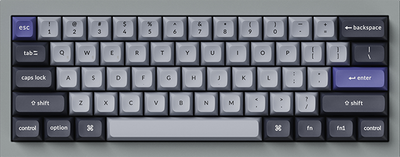
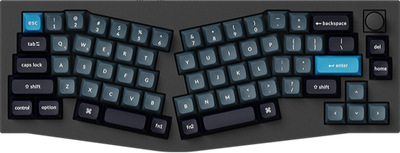
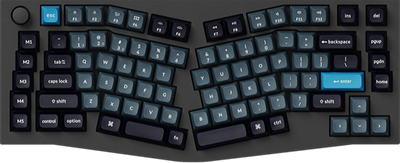
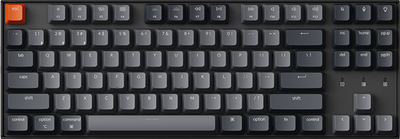
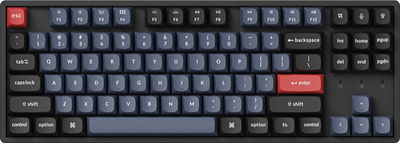
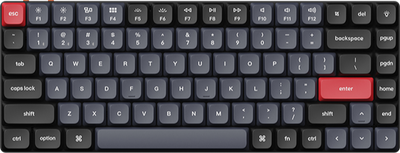
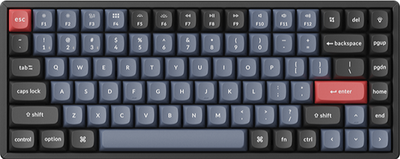
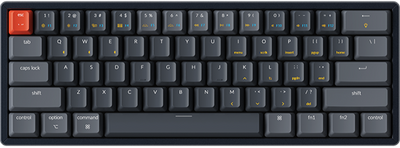
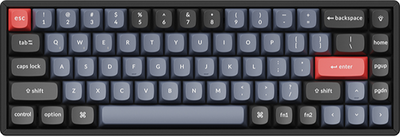
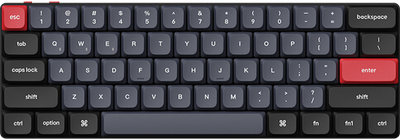
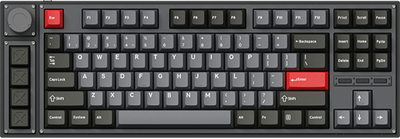
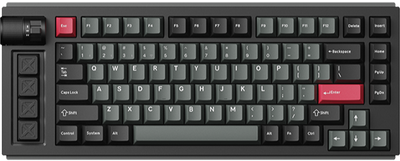
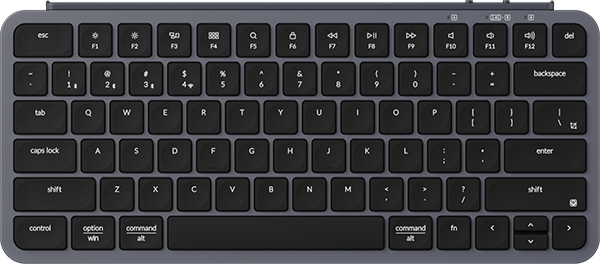
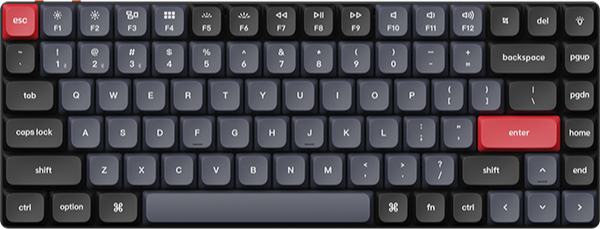
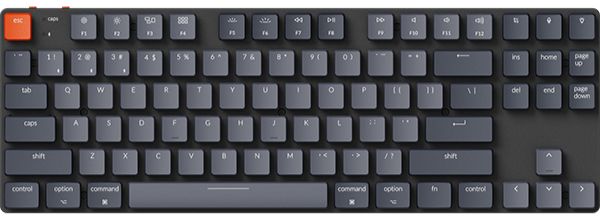
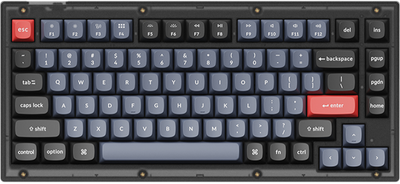
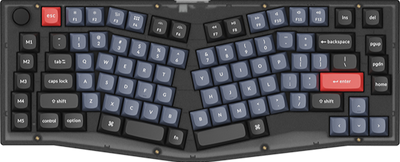
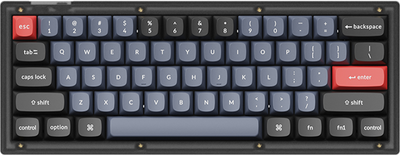
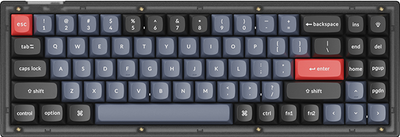
In Keychron keyboards' custom system, "Layer" is a core feature: it lets the same physical keys carry multiple function sets, enabling compatibility with Mac/Windows/Linux and "expanding key capacity" to suit office, gaming, content creation, and other scenarios.
The Keychron Launcher Web App supports setting dedicated toggle keys for layer switching.
How to switch keyboard function layers
1. Hardware methods: Most Keychron models are equipped with a Mac/Win system toggle switch on the side, which is the core method for switching basic function layers.
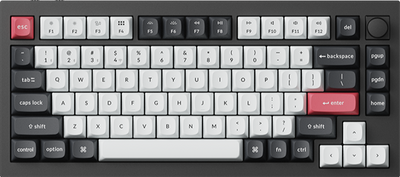
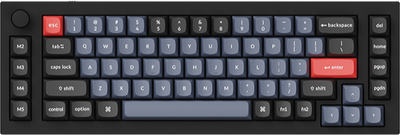
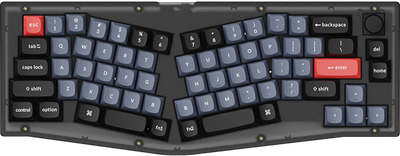
Example based on the Q1 HE model
- When the switch is toggled to the "Mac" position, it will automatically activate the Layer 0 adapted for the Mac system.
- When toggled to the "Windows" position, it activates Layer 2 adapted for the Windows system.
- This method can directly switch the core function layer base of the keyboard, meeting the basic operational needs of different systems.

2. Software methods: The "Layers" section in the Keymap function allows users to modify mappings to implement function layer switching via keys. It offers six switching modes, including temporary switching and permanent switching, enabling users to configure according to their own habits.
On the Keychron Launcher web app, we have the following functions to set for quick switching. They are MO(n), TG(n), TT(n), OSL(n), TO(n), DF(n).
Six functions to Quickly Switch on Launcher
1. MO(n): Momentarily turn on the layer when pressed
What it does: The MO(n) function temporarily activates a specific layer as long as the key assigned to this function is held down. Once you release the key, the layer is immediately deactivated, and the keyboard returns to its previous state.
This function is useful for creating key combinations to act as function keys (like media controls or custom macros).
Example for MO(n):
Assign MO(1) to a specific key (such as the Fn key). When you hold down the Fn key, Layer 1 becomes active.
In layer 1, configure the "D" key to increase the volume.
When you press and hold the Fn key and the D key at the same time, you can increase the volume.
2. TG(n): Toggle layer on or off
What it does: The TG(n) is a function to toggle layer n on or off. Change the state of layer n: if it is inactive, activate it; if it is active, deactivate it. Assign TG(n) to a key to switch between your main layer and layer n (e.g., for the default Mac layer and Windows layer). Press the key once to activate the layer, and press it again to turn it off.
Unlike the momentary activation in MO(layer), the TG(layer) function keeps the layer active until you toggle it off.
Example for TG(n):
Suppose you want to switch between two keyboard layers:
Layer 0 is your default Mac layer.
Layer 2 is your Windows layer.
By assigning TG(2) to a key, such as the Fn key, pressing Fn once will activate Layer 2 (Windows layer). To switch back to your default Layer 0 (Mac layer), simply press Fn again. This TG(n) function allows you to quickly switch between two layers without needing to hold down any keys, making it convenient for users who frequently alternate between operating systems.
3. TT(n): Layer Tap-Toggle
What it does: When holding down this key, the layer will be activated, and then is de-activated when you let go (similar to MO). If you repeatedly tap it, the layer will be toggled on or off (similar to TG). By default, this requires 5 taps. but you can change this by defining TAPPING_TOGGLE -- for example, #define TAPPING_TOGGLE 2 to toggle on just two taps.
Example for TT(n):
Suppose you want to switch between two keyboard layers:
Layer 0 is your default Mac layer.
Layer 2 is your Windows layer.
By assigning TT(2) to a specific key (such as the Fn key), holding down Fn will temporarily activate Layer 2 for Windows, and it will revert back to Layer 0 once you release the key. Additionally, if you tap Fn five times (or the number of taps you've configured), it will toggle Layer 2 permanently, and another five taps will switch it back to Layer 0. This is especially useful when you need quick access to a different layer without holding down a key continuously.
4. OSL(n): Momentarily activates the layer until a key is pressed
What it does: The OSL(layer) function momentarily activates a specified layer until the next key is pressed. OSL(n) is a "one-shot" layer activation, meaning the layer stays active only for a single keypress or action. After you press any key while the layer is active, the keyboard returns to its previous state.
Example for OSL(n):
Suppose you frequently use certain function key combinations on your keyboard, but there are too many to handle. In this case, you can use OSL(n) to simplify your operations.
In Layer 2, "Q" is set to "Copy" (Ctrl+C). OSL(2) is assigned to the Fn key. When the Fn key is pressed, Layer 2 is activated, so pressing "Q" will execute the "Copy" function.
Once you press any other key (such as "Q"), the keyboard will immediately return to Layer 0.
5. TO(n): Turns on the layer and turns off all other layers, except the default layer
What it does: Activate layer n and deactivate all other layers (except the default layer). This function is unique because instead of just adding/removing one layer to your active layer stack, it will completely replace your current active layers, uniquely allowing you to replace higher layers with a lower one. It activates when the key is pressed (as soon as the key is held down).
Example for TO(n):
Suppose you want to switch between two keyboard layers:
Layer 0 is your default Mac layer.
Layer 2 is your Windows layer.
Assign TO(2) to a specific key (e.g., the Fn key), pressing and holding Fn will activate Layer 2, switching to the Windows layer. As soon as you release the key, the keyboard will revert to Layer 0, the default layer.
6. DF(n): Set the base (default) layer
What it does: DF(n) is a function used to temporarily switch the default layer to layer n. The default layer is the always-active foundational layer that other layers stack on top of. Note that this is a temporary switch and will be invalid after the keyboard is powered off.
Example for DF(n):
Suppose you want to switch between two keyboard layers:
Layer 0 is your default Mac layer.
Layer 2 is set up for the Windows layer.
Assign DF(2) to a specific key (e.g., the Fn key), pressing the Fn key will temporarily set Layer 2 as the default layer, meaning all keys will follow the Windows layout. Once the keyboard is powered off or reset, this setting will be canceled, and the default layer will revert to Layer 0.


