


Keyboard Firmware
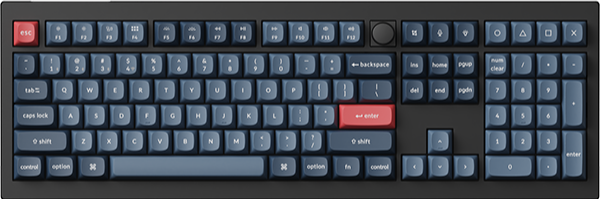
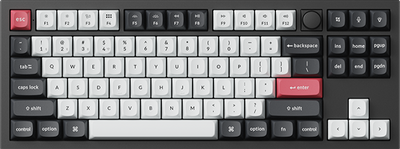
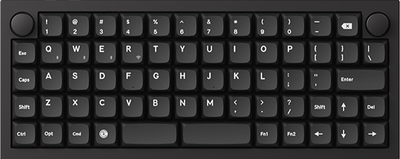
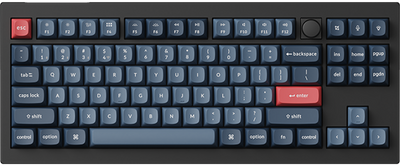
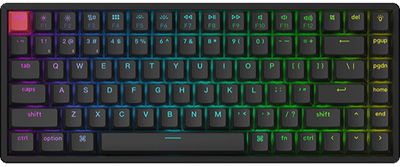
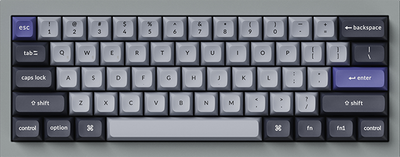
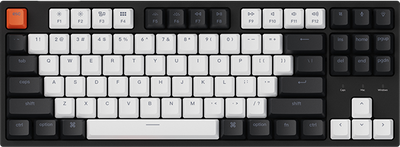
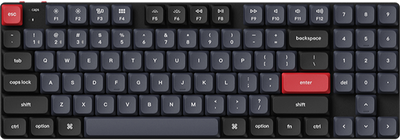
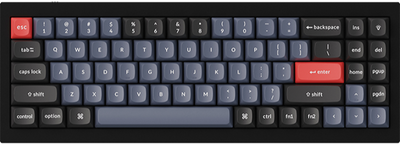
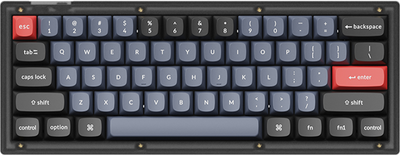
C1 Pro 8K
Download C1 Pro 8K ANSI RGB Version Firmware
*firmware version 1.1.0 updated on July 19, 2025
-Added LKP and debounce functionality.
-Added per-key RGB and advanced mixed RGB lighting effects.
Download C1 Pro 8K ISO RGB Version Firmware
*firmware version 1.1.0 updated on July 19, 2025
-Added LKP and debounce functionality.
-Added per-key RGB and advanced mixed RGB lighting effects.
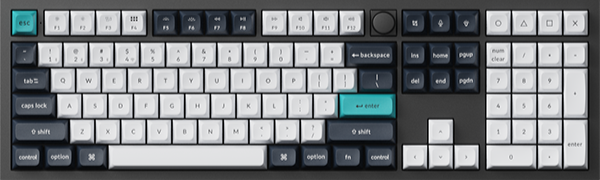
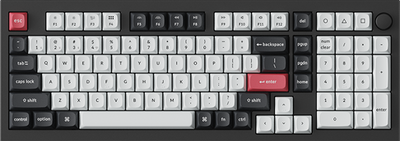
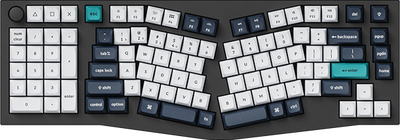
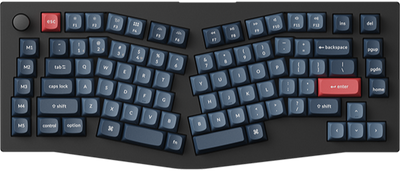
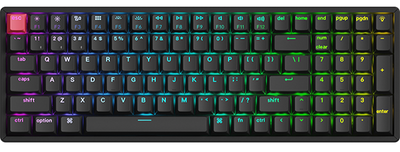
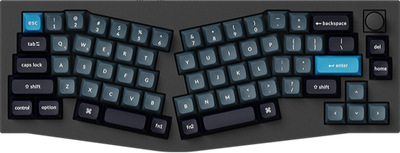
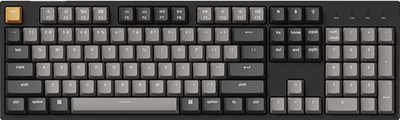
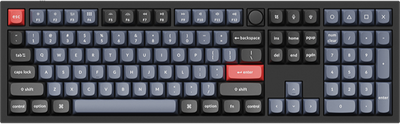
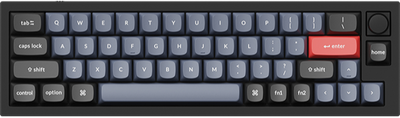
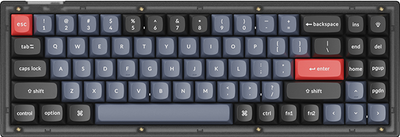
C2 Pro 8K
Download C2 Pro 8K ANSI RGB Version Firmware
*firmware version 1.1.0 updated on July 22, 2025
-Added LKP and debounce functionality.
-Added per-key RGB and advanced mixed RGB lighting effects.
Download C2 Pro 8K ISO RGB Version Firmware
*firmware version 1.1.0 updated on July 22, 2025
-Added LKP and debounce functionality.
-Added per-key RGB and advanced mixed RGB lighting effects.
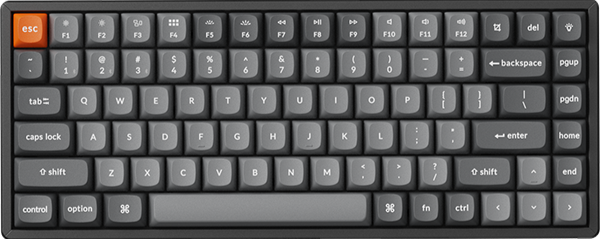
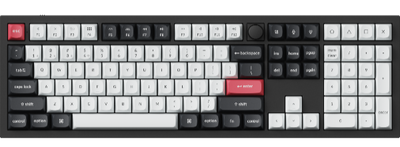
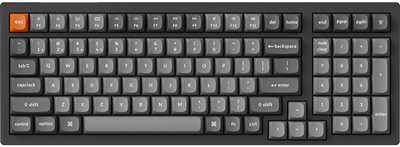
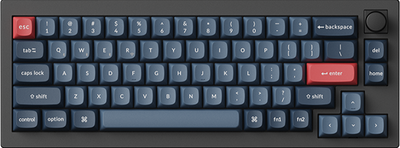
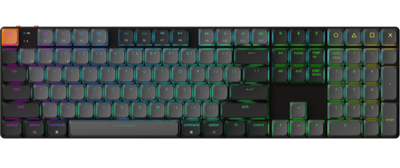
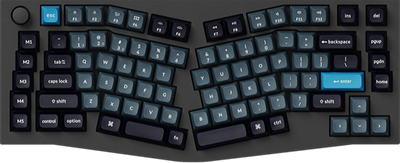
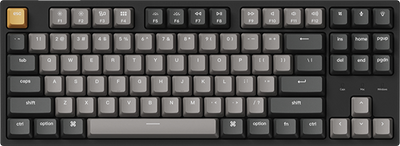
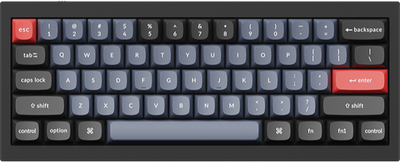
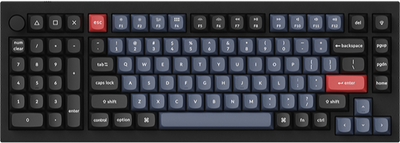
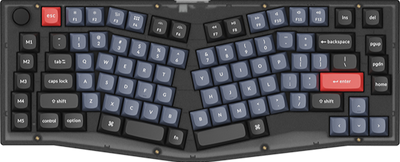
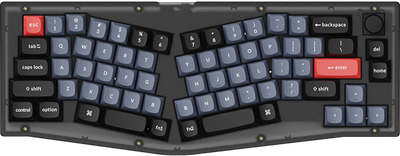
C3 Pro 8K
Download C3 Pro 8K ANSI RGB Version Firmware
*firmware version 1.1.0 updated on July 19, 2025
-Added LKP and debounce functionality.
-Added per-key RGB and advanced mixed RGB lighting effects.
Download C3 Pro 8K ISO RGB Version Firmware
*firmware version 1.1.0 updated on July 19, 2025
-Added LKP and debounce functionality.
-Added per-key RGB and advanced mixed RGB lighting effects.
Download C3 Pro 8K JIS RGB Version Firmware
*firmware version 1.0.0 updated on June 27, 2025
JSON Files
C1 Pro 8K
Download C1 Pro 8K ANSI RGB Keymap JSON File
Download C1 Pro 8K ISO RGB Keymap JSON File
C2 Pro 8K
Download C2 Pro 8K ANSI RGB Keymap JSON File
Download C2 Pro 8K ISO RGB Keymap JSON File
C3 Pro 8K
Download C3 Pro 8K ANSI RGB Keymap JSON File
Download C3 Pro 8K ISO RGB Keymap JSON File
Download C3 Pro 8K JIS RGB Keymap JSON File
How to flash the keyboard firmware on different systems
Mac System
1. Open the launcher website. Link: https://launcher.keychron.com/#/firmware/flash?force=true&keep=true
2. Plug the power cable into your keyboard.
3. Click the 'Connect' button in the upper left corner and select the keyboard of the corresponding model.

4. When you get to the next page, please click “Next” to flash firmware.

5. In the current state, unplug the keyboard USB cable and let the keyboard disconnect.

6. While the keyboard is disconnected, press and hold the ESC of the keyboard and simultaneously connect the keyboard to the computer with the USB cable.Let the keyboard enter the state of preparing to update the firmware.

7. Click the 'Match Device' button below, select the device that starts with DFU, and connect it.

8. After successfully matching, the 'Flash Firmware' button will appear, click it to start updating the firmware.
(Do not disconnect the keyboard from the computer while flashing firmware.)

9. Wait a while, 'Firmware update successfully' is displayed at the top of the screen, “Firmware Update” complete.

Windows System
1. Plug in power cable to your keyboard.
2. Download and install the DFU driver for Windows system, once you have completed the installation, please restart your device.
Download DFU Driver for Windows
3. Download the keyboard firmware (see above on this page) and download the QMK Toolbox.
Download QMK Toolbox for Windows
4. Unplug the cable from the keyboard.
5. Open the QMK Toolbox.
6. Remove the space bar keycap to find the reset button on the left side of the space bar switch on the PCB.
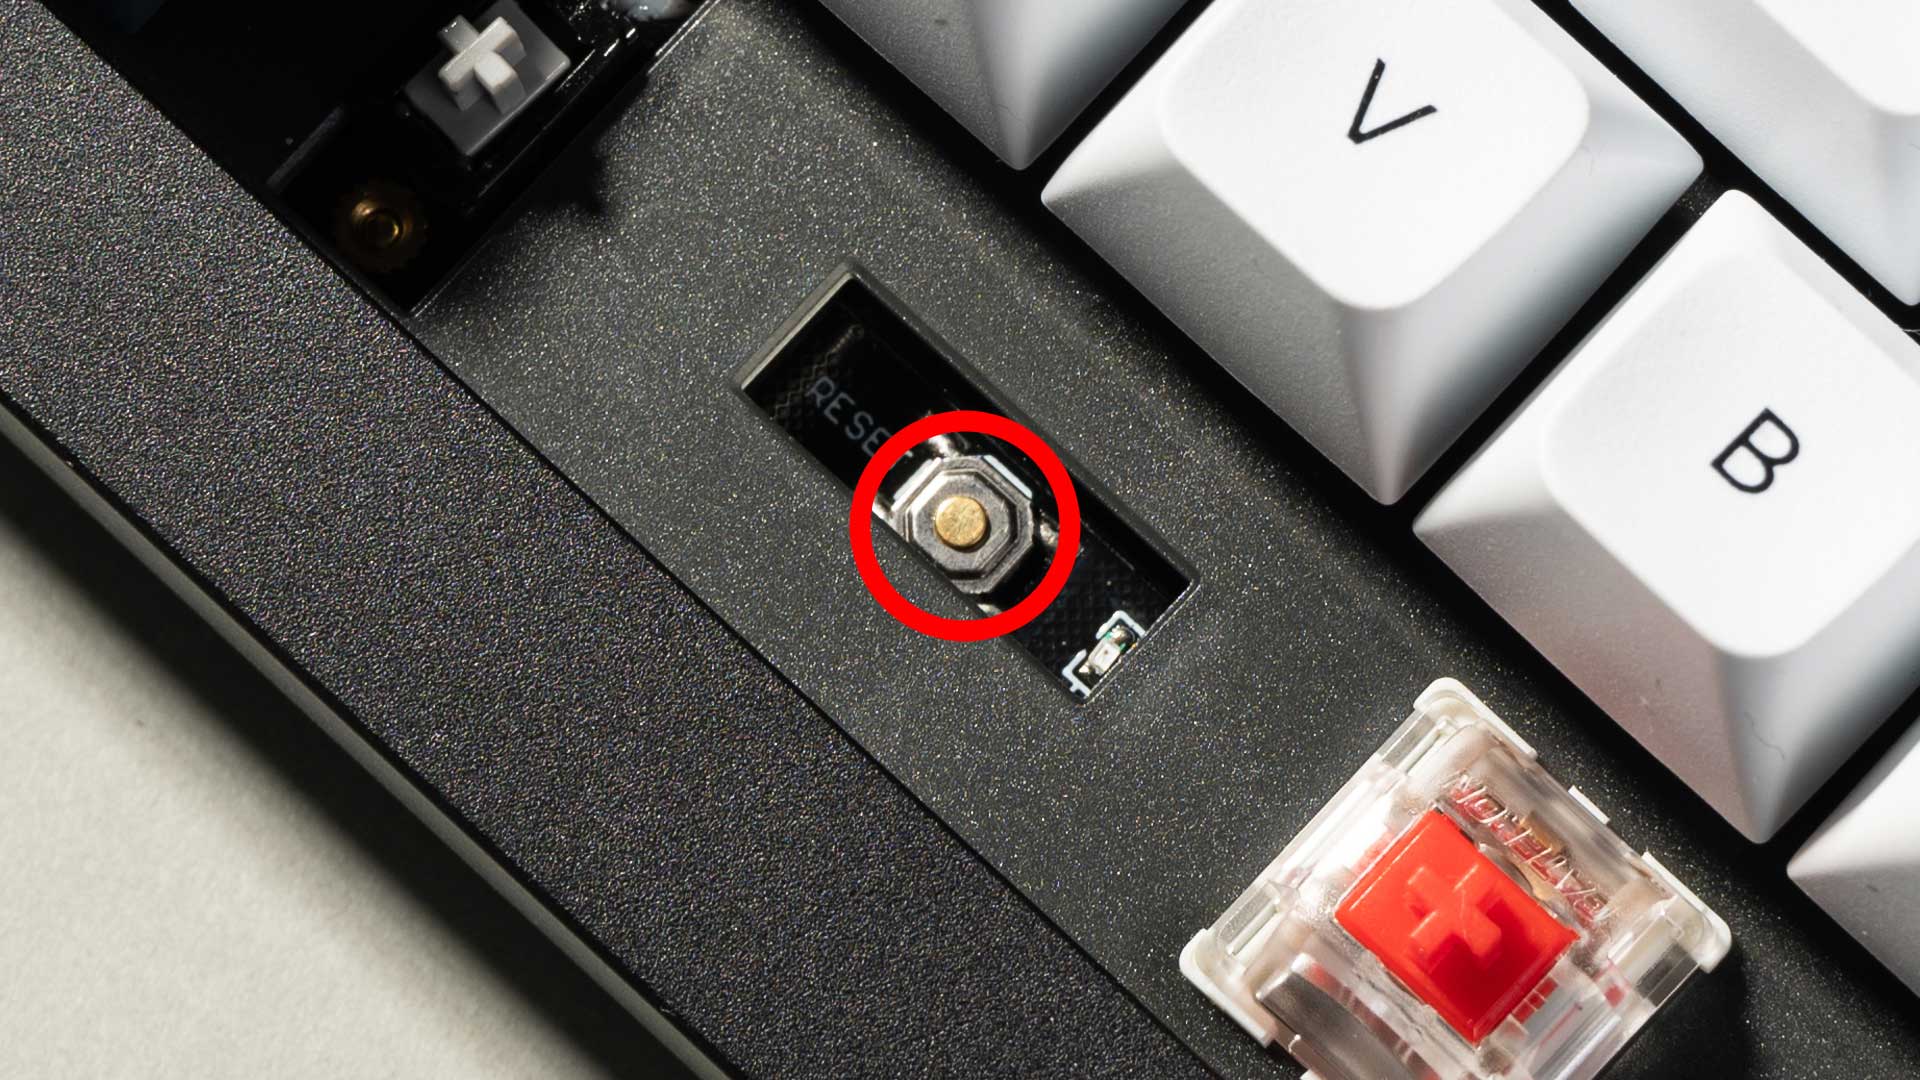
7. Press and hold the reset button, and plug in the power cable simultaneously. Do not release the reset button till the QMK Toolbox display in yellow words "***DFU device connected". This indicates that your keyboard has entered into DFU mode.

8. Click open and choose the firmware. Click the Flash button. It will start flashing. (Note: Do NOT unplug the power cable while it's flashing.)

9. Wait a few seconds and when you see the content below, it means the keyboard has flashed successfully factory reset.
