


How to use HE mode on Keychron Launcher

HE mode is a distinctive feature of the magnetic switches, and this blog aims to assist you in maximizing the functionality of the Keychron Q HE series keyboards
Keychron HE keyboards allow users to freely customize magnetic switch functions according to their habits, including Actuation Distance, Rapid Trigger, Snap Click, and more.
Below is a guide on how to maximize the functionality of your HE keyboard:
1. Use the latest version of Chrome/Opera/Edge browser to click here to open the launcher.
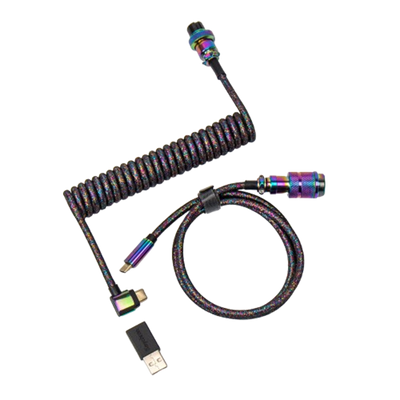
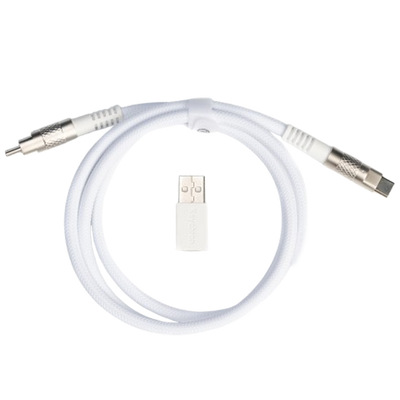
2. After establishing a physical connection using our dedicated connecting cable or 2.4G receiver, click the 'Connect' button on the Launcher and select the device you need to configure to connect to it.
Notice: Some product models only support a wired connection.
3. You can configure a variety of functions in HE Mode.

- Actuation Distance:
Actuation Distance refers to the minimum distance a user needs to press a key to send a signal.
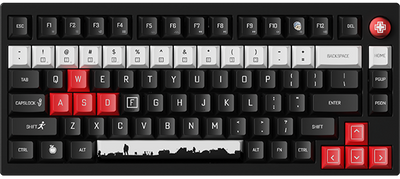
In HE Mode, you can select keys by pressing physical keys or clicking keys on the virtual keyboard (the selected key body will turn reddish brown). Multiple keys can be selected in a single setup.
Meanwhile, the numbers below the virtual keyboard represent the current actuation distance of the keys.

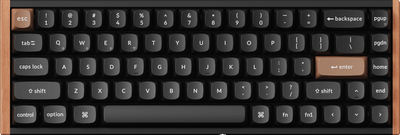
The keys "A","S",and "D" are in the selected state
Then, set the actuation distance in the "Set Actuation Distance" section below.
- You can adjust the actuation distance by sliding the actuation distance bar.
- You can also adjust the actuation distance by entering the value directly.
The new Actuation Distance will be saved automatically after you complete the operation.
For convenience, users can click "Select All" to select all keys, or click "Clear" to deselect the currently selected ones.

- Rapid Trigger:
Rapid trigger starts and ends after the actuation point, enabling dynamic triggering or resetting of the key.ntly selected ones.
The selection rule for Rapid Trigger is the same as above, but the meanings of the numbers inside the keys are different:
- Number at the top-left corner of the key: (Press) Actuation Distance — The distance required to press the key to trigger it again.
- Number at the bottom-right corner of the key: (Release) Reset Distance — The distance required to release the key to reset it.lick "Clear" to deselect the currently selected ones.
Keychron Launcher has a global switch for enabling Rapid Trigger

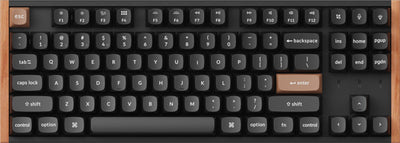
Tjis figure shows that the global switch for rapid trigger is disabled for all keys
a. How to enable Rapid Trigger?
1. Users can select some keys and click "Turn On" to enable Rapid Trigger for the selected keys;


2. Alternatively, they can toggle the switch to enable the function for all keys without selecting any keys.
b. How to Set Rapid Trigger?
After enabling the switch, select the target keys to configure the actuation distance and reset distance for their Rapid Trigger function.

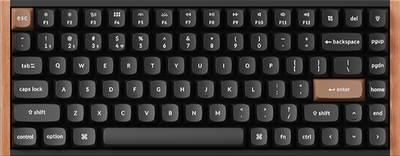
As shown in the figure, the Rapid Trigger switches for all keys are enabled,and the keys "C", "V", and "B" have been selected.
Rapid Trigger is divided into Basic Mode and Advanced Mode:
- Basic Mode: The actuation travel for pressing (triggering) and releasing (resetting) in Rapid Trigger is the same.

- Advanced Mode: The actuation travel for pressing (triggering) and releasing (resetting) in Rapid Trigger is different.

Users can configure the parameters of Rapid Trigger by sliding the actuation travel bar or entering specific values directly.
The new Actuation Distance will be saved automatically after you complete the operation.
- Trigger Demo & Test Keys:
- Trigger Demo can simulate the actuation distance changes of the key (only supporting selecting one key at a time) and indicate the key's actuation status through different colors.
- Test Keys can provide real-time feedback on the currently actuated keys (supporting simultaneous actuation of multiple keys) and output the actuation results at the bottom of the interface.
Trigger Demo and Test Keys are two separate functions, but we recommend enabling both for use.
The following video shows the actuation demo of the N key after Rapid Trigger is enabled:
As shown in the video, the actuation process of the Rapid Trigger function for the N key is as follows:
a. Press the N key fully down in one go: The function is activated immediately when the actuation travel reaches the trigger point;
b. Release the key and let it rebound fully above the trigger point: The function stops being activated;llows:
c. Press the key again below the trigger point: The function is activated once more; the N key is as follows:
d. Rebound to the preset height of Rapid Trigger (without reaching the trigger point): The function stops being activated;
e. Press the key again to the preset height of Rapid Trigger: The function is activated again;
f.Fully release the N key and let it rebound fully above the trigger point: The function stops being activated finally.