


If everything works fine with your keyboard, it is not recommended to disassemble the keyboard as it may damage the keyboard and will void the return and warranty.
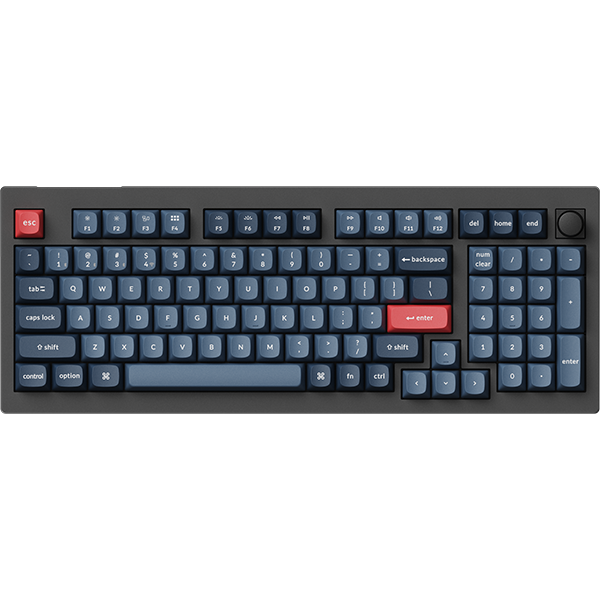
This tutorial takes the V3 knob version as an example, and the disassembly of other V series keyboards is similar to this.
1. Remove the screws from the frame (skip this if you have a plastic frame version keyboard). And then, take out the side frames.
2. Unscrew the screws from the back of the keyboard with the hex key and take the top case off.


3. Pull off the keycaps and remove the screws on the plate as shown in the image below.


4. Then you will be able to take out the PCB (Note: Please be careful of the toggles on the side when you disassemble the keyboard and reassemble it.).
5. Unscrew the screws on the PCB.
6. Take the PCB, the foam, and the plate apart.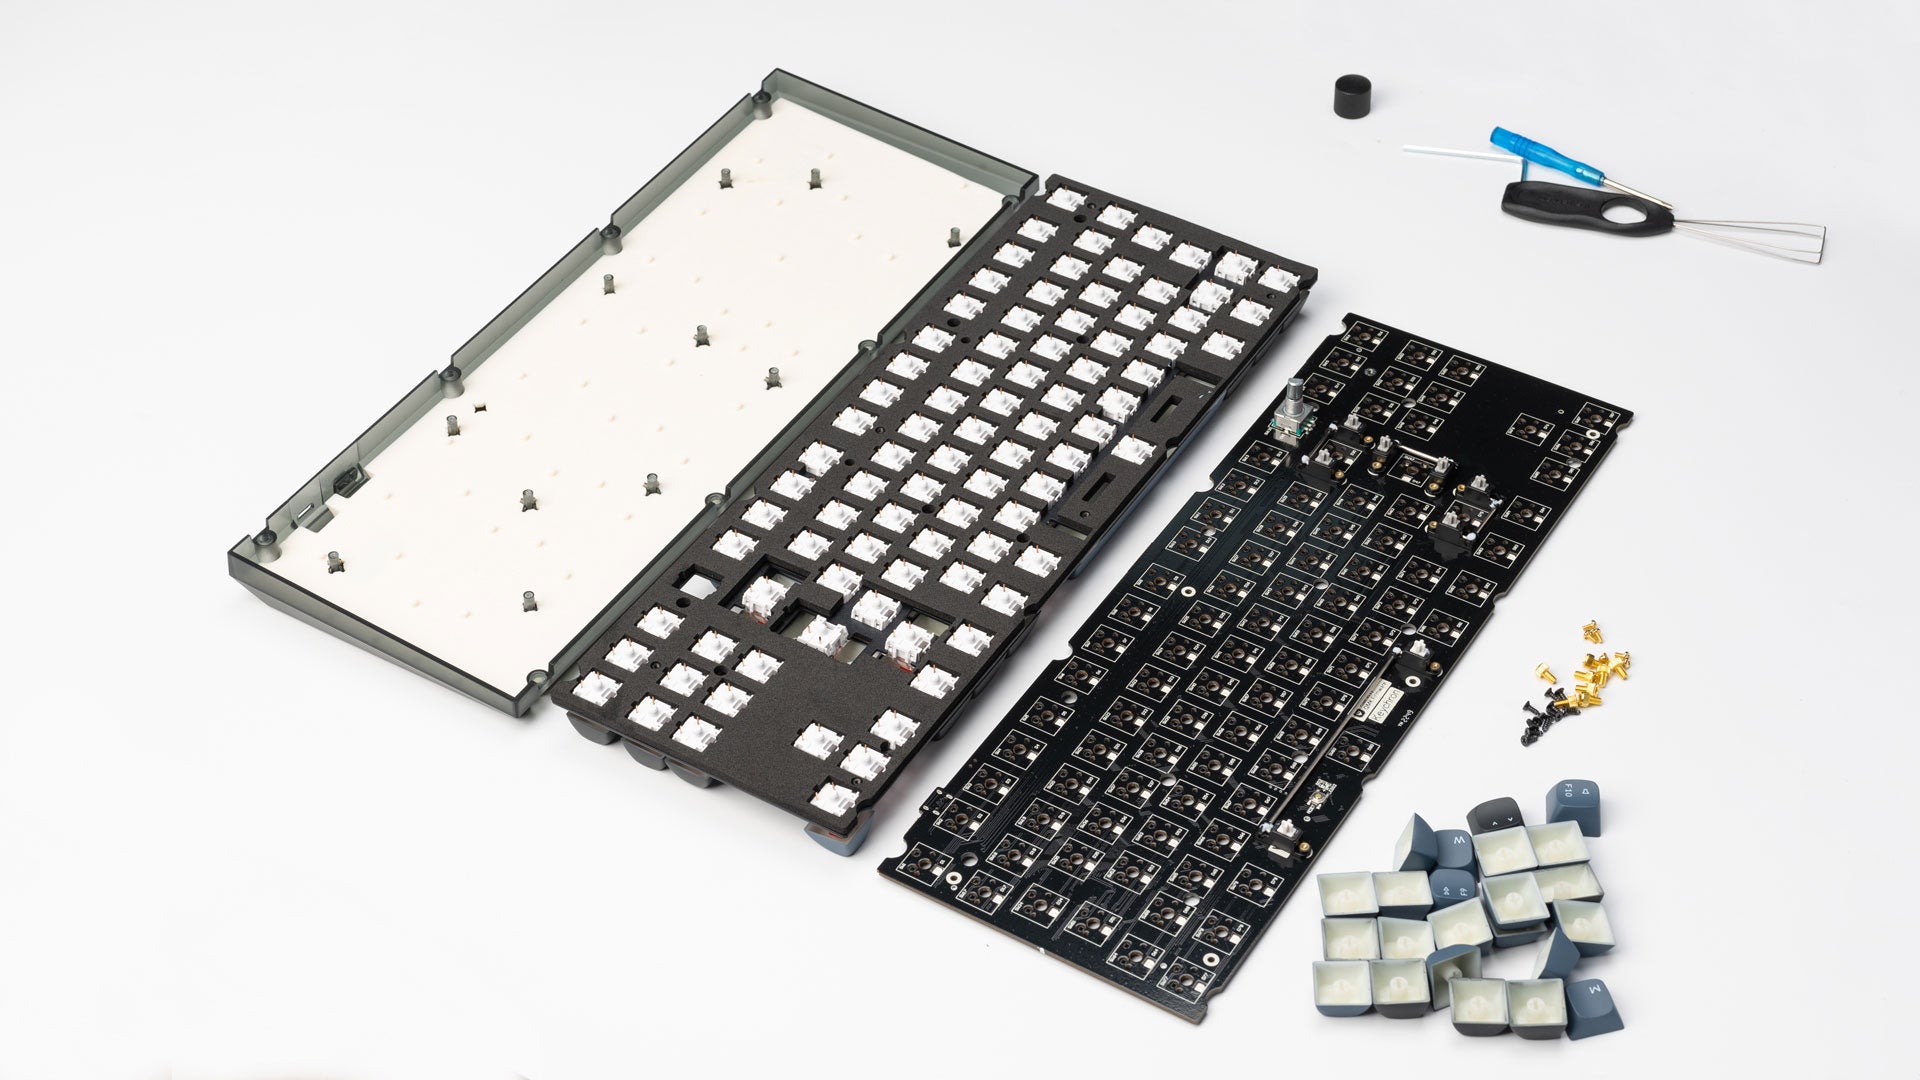
You may contact support@keychron.com if a defect covered by the warranty arises in your product within the warranty period. Keychron will honor the warranty of our Q, Q Pro, and V series keyboard (e.g.: Q1, Q2, Q1 Pro, V1, V2, etc.) by one of the following methods at our discretion:
- Defects of Q, Q Pro, and V series keyboards have been caused by manufacturing: We will only replace the defective parts of the keyboard, not the whole keyboard, as its highly customizable and easy to be rebuilt.
- Defects of Q, Q Pro, and V series keyboards have been caused by disassembling our product, improper installation, non-factory repairs/modifications, improper adjustment of the product, or neglect, including but not limited to “burn-in”, and similar wrongful use: We will NOT offer free service. We only offer paid service to replace the defective parts at your own cost (including the cost of parts, shipping fee and tax if applicable).