


How To Disassemble the Keychron Q Pro series Keyboard
How To Disassemble the Keychron Q Pro series Keyboard
Step 1: Remove the knob cap.
Step 2: Unscrew the screws and take the bottom case apart.
Step 3: Release the cables connected to the main PCB.
Step 4: Remove the daughter PCB.
Step 5: Unscrew the screws on the PCB.
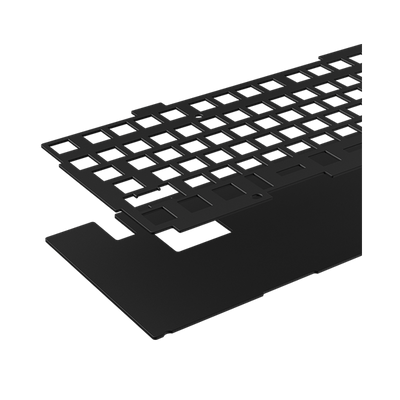
Step 6: Take the PCB, the foam, and the plate apart.
Please watch the video above to see how to disassemble a Q Pro series keyboard.
You may contact support@keychron.com if a defect covered by the warranty arises in your product within the warranty period. Keychron will honor the warranty of our Q , Q Pro, and V series keyboard (e.g.: Q1, Q2, Q1 Pro, V1, V2, etc.) by one of the following methods at our discretion:
- Defects of Q, Q Pro, and V series keyboards have been caused by manufacturing: We will only replace the defective parts of the keyboard, not the whole keyboard, as its highly customizable and easy to be rebuilt.
- Defects of Q, Q Pro, and V series keyboards have been caused by disassembling our product, improper installation, non-factory repairs/modifications, improper adjustment of the product, or neglect, including but not limited to “burn-in”, and similar wrongful use: We will NOT offer free service. We only offer paid service to replace the defective parts at your own cost (including the cost of parts, shipping fee and tax if applicable).